
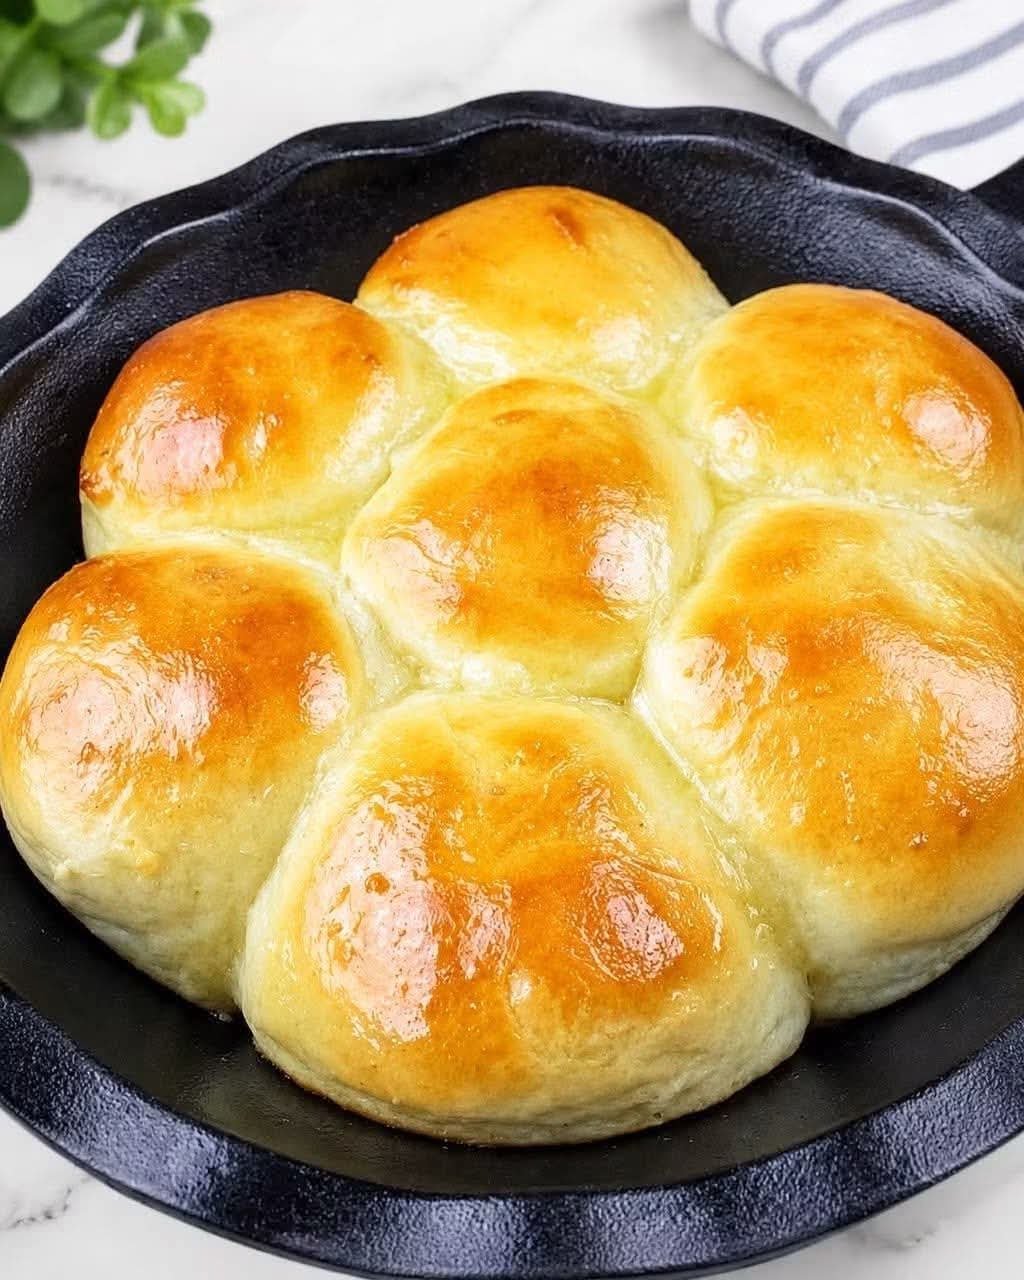
# Mother’s Refrigerator Rolls Recipe
There’s something truly heartwarming about the aroma of freshly baked rolls wafting through the house. If you’re looking for a recipe that is easy to prepare and yields soft, fluffy rolls, Mother’s Refrigerator Rolls is the perfect choice. This classic recipe has been passed down through generations, offering not only delicious flavors but also the convenience of being able to prepare dough in advance. In this article, we will guide you through making these delightful rolls, ensuring they’re ready whenever you need them.
## What Are Refrigerator Rolls?
Before diving into the recipe, let’s clarify what refrigerator rolls are. Refrigerator rolls are a type of yeast roll that can be prepared in advance and chilled in the refrigerator. This method allows the dough to rise slowly, developing rich flavors and making it convenient for busy households. You can cut the rolls from the chilled dough and bake them fresh whenever you desire.
## Ingredients for Mother’s Refrigerator Rolls
To make these delectable rolls, you’ll need a few simple and readily available ingredients:
– 4 cups all-purpose flour
– 1/4 cup granulated sugar
– 1 tablespoon salt
– 1 packet (2 1/4 teaspoons) active dry yeast
– 1/4 cup warm water (about 110°F)
– 1 cup whole milk
– 1/4 cup unsalted butter, melted
– 2 large eggs
Optional for brushing:
– 2 tablespoons unsalted butter, melted (for brushing the rolls before or after baking)
## Step-by-Step Instructions
### Step 1: Prepare the Yeast
First, activate the yeast by combining the warm water and active dry yeast in a small bowl. Allow it to sit for about 5-10 minutes until it becomes frothy. This step is crucial, as it ensures the yeast is alive and ready to help your rolls rise.
### Step 2: Combine Dry Ingredients
In a large mixing bowl, sift together the all-purpose flour, sugar, and salt. Sifting helps to break up any lumps and aerate the flour, giving your rolls a lighter texture.
### Step 3: Mix the Dough
Once the yeast is activated, add the warm milk (heated to about 110°F), melted butter, and eggs to the dry ingredients. Then, pour in the frothy yeast mixture. Using a wooden spoon or a dough hook attached to a stand mixer, combine everything until a soft dough forms.
### Step 4: Knead the Dough
Turn the dough out onto a lightly floured surface. Knead the dough for about 5-10 minutes, until it’s smooth and elastic. If you’re using a stand mixer, knead it on low speed for about 5 minutes. This step develops the gluten, giving your rolls structure and chew.
### Step 5: First Rise
Place the kneaded dough in a lightly oiled bowl, cover it with a clean kitchen towel or plastic wrap, and let it rise in a warm place until it doubles in size. This typically takes about 1-2 hours, depending on the room temperature.
### Step 6: Shape the Rolls
Once the dough has risen, punch it down to remove excess air. Divide the dough into small pieces (about 2-3 ounces each). Shape each piece into a ball and place them in a greased baking pan, leaving a little space between each roll. You can use a 9×13-inch pan or two round cake pans depending on how many rolls you’re making.
### Step 7: Refrigerate the Rolls
After shaping the rolls, cover the pan with plastic wrap or a kitchen towel and place it in the refrigerator. This is where the “refrigerator” part comes in! You can keep the rolls in the fridge for up to 24 hours before baking.
### Step 8: Final Rise
When you’re ready to bake, preheat your oven to 375°F (190°C). Remove the rolls from the refrigerator and let them rise for about 30-45 minutes at room temperature, until they puff up and fill the pan.
### Step 9: Bake the Rolls
Brush the tops of the rolls with melted butter for a golden crust. Bake in the preheated oven for 15-20 minutes, or until the tops are golden brown and the rolls sound hollow when tapped.
### Step 10: Cool and Serve
Remove the rolls from the oven and allow them to cool for a few minutes before serving warm. These rolls are perfect for dinner, sandwiches, or simply slathered with butter and jam.
## Tips for Perfect Refrigerator Rolls
– **Flour Measurement:** For best results, measure your flour correctly by spooning it into the measuring cup and leveling off with a knife. Avoid packing flour into the cup.
– **Temperature Matters:** Make sure your milk is warm, not hot, when combining with the yeast to avoid killing it.
– **Flavor Enhancements:** You can add garlic powder, herbs, or cheese to the dough for an extra flavor boost.
– **Make Ahead:** To make these rolls even more convenient, you can freeze the shaped rolls before the second rise. Simply cover them tightly and freeze. When you’re ready to bake, let them thaw and rise at room temperature before baking.
## Conclusion
Mother’s Refrigerator Rolls are a delightful addition to any meal, offering warm, fluffy bread that can be prepared ahead of time. Whether it’s a holiday feast or a simple family dinner, these rolls will surely impress. With easy preparation and the ability to bake fresh rolls right when you need them, this recipe will become a cherished part of your culinary repertoire.
Enjoy the comforting taste of homemade rolls, and share them with family and friends—there’s nothing quite like the joy of breaking bread together!